If you’re reading this, you are one of the millions of people who uses Gmail to send and receive their email. Welcome to the (big) club! Unfortunately, you’re also one of those people who stores a lot of very sensitive information in your account and doesn’t really know how to secure Gmail account from hackers. Here are 5 important steps you need to take.
Here are 5 steps that you need to take immediately:
- Create a Stronger Gmail Password
- Check your “Trusted Devices”
- Use a 2-Factor Authentication Key
- Review 3rd-Party Access to Your Account
- Enroll in Google’s Advanced Protection Program
Each of these steps should take you no more than 10 minutes to set up, if not less, but they can mean the difference between having your Gmail account hacked or keeping it safe and secure.
By default, your Gmail account isn’t secure, so let’s dive in and learn how to change that!
Step 1: Create a Stronger Gmail Password Using a Password Manager
I hate that I even have to share this as a step, but if you don’t have a strong password – or if you’re not sure you have a secure password – you need to change it right now.
A strong password is a random combination of characters – the longer the better – that is unique, meaning that you only use that password for Gmail and not a single other online login.
Using the same password across multiple accounts can lead to a security breach. If a hacker gains access to one account, they can immediately access others with the same password, significantly increasing the risk of identity theft and unauthorized access to sensitive information.
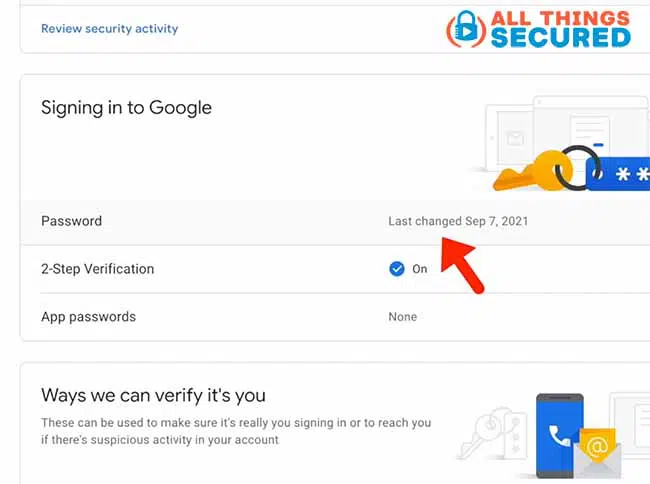
To change your Gmail password, go to myaccount.google.com/security and click on “Password” under “Signing into Google”.
If you need help with passwords, I recommend setting up a good password manager that will not only create these strong passwords, it will also securely store it for you in an encrypted vault.
Step 2: Check Your “Trusted Devices” in Gmail
Now that you’re in the security settings of your Gmail account, you may have noticed a few warnings under the Security Checkup box. Even if Google gives you a pat on the back with a message reading “Your account is protected”, I still recommend you jump over to the security checkup page.
It’s really important to know what you can do with this tool Google provides, both from a monitoring and threat avoidance standpoint.
For example, I can check all of the devices that are “trusted” to open my Gmail account and make sure there aren’t any unknown devices that I can tell Google I don’t recognize.
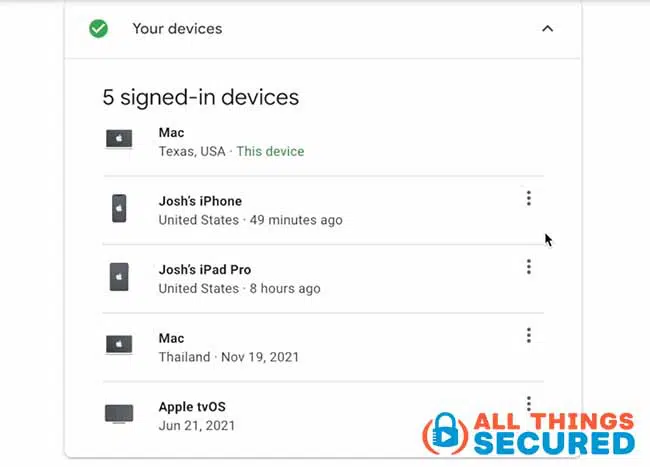
Or better yet, let’s say your phone was stolen, this allows you quickly jump in and tell Google to sign that device out so that the thief won’t have access to my email.

It’s a good idea to come back a couple times a year just to double check and make sure that you know all of the trusted devices on your account.
Step 3: Use a Security Key for 2 Factor Authentication to Lock Gmail
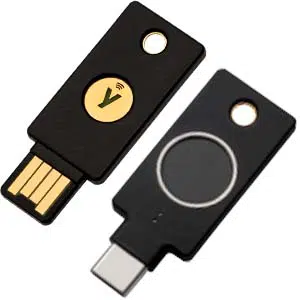
In my opinion, probably the most important change you can make to secure your Gmail account is to turn on 2 factor authentication. Personally, I have multiple Yubikey 2FA security keys that I use to secure my Gmail account, including:
- My primary 2FA key
- My backup 2FA key
- My wife’s primary 2FA key (so that she can get in if she needs to)
If you’re not using 2FA, even if you have the strongest password in the world, your account security is at high risk.
Gmail security does not exist with 2-Factor Authentication.
There are many ways that you can activate 2FA, including SMS text, authenticator apps and even backup codes. Thankfully, the most secure way to do this is also one of the easiest to setup.
The 2FA key.
Setting up a 2FA Key for Gmail
There are plenty of 2FA keys you can find on Amazon, but when it comes to this kind of security, I’m very picky about who I trust. If you don’t already have a 2FA key, I recommend Yubikey.
Time needed: 6 minutes
I’ve already done a full tutorial on how to setup a new 2FA key for other accounts, but for your Gmail account it’s pretty straightforward.
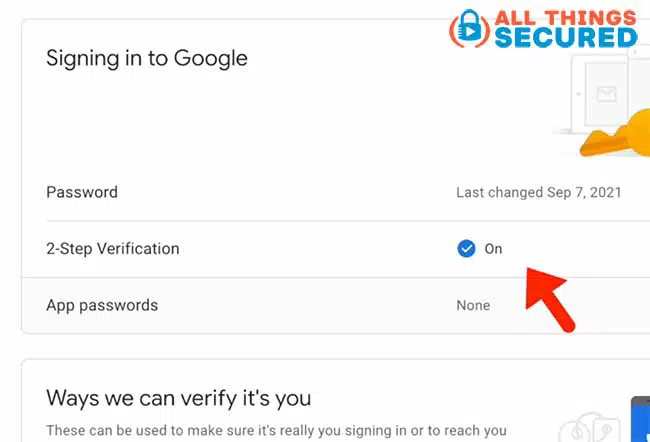
- Open Your Gmail Security Settings
Log into your Gmail account, go to myaccount.google.com/security, scroll down and find 2-Step Verification, which is the name that Google gives for 2-factor authentication. Make sure that this is set to “On”.

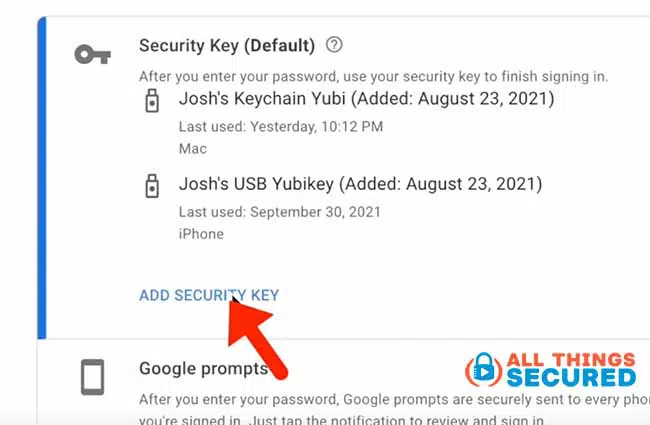
- Click “Add Security Key”
Once you’ve turned on 2-Step Verification, Google will give you a number of options, including an authenticator app, SMS text, and a Google Prompt. You want to choose “Security Key” and then click on “Add Security Key” as you see here.

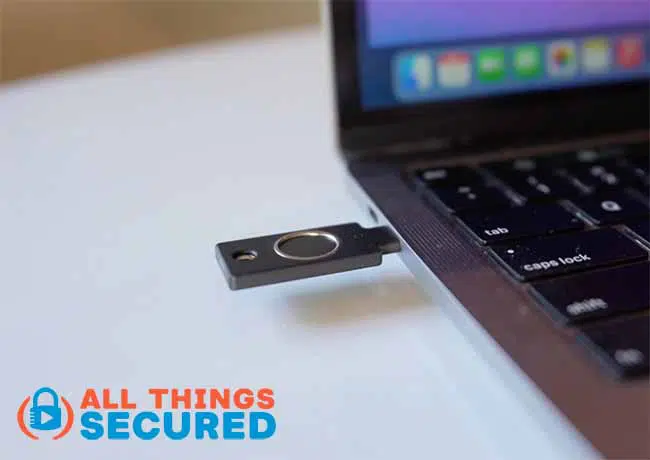
- Plug in the Yubikey 2FA Key
Choose the “USB or Bluetooth” option on the screen. You will be asked to plug in your Yubikey 2FA key into your computer and then press the button to activate.

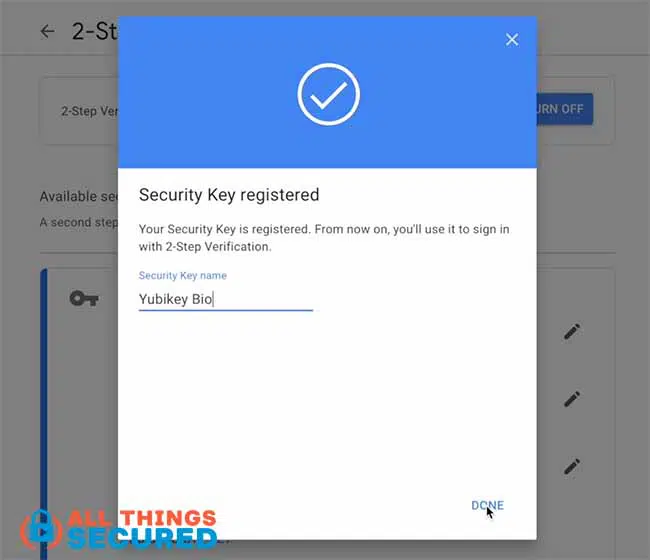
- Register and Name the Security Key
Make sure you name the 2FA key so that you remember which one it is. This description will allow you to easily remove any key that gets lost or stolen.

Important side note: anytime you use 2FA, you NEED to make sure you have a backup plan. This could be a second key, backup codes that you store securely or something else. The last thing you want to do is lock yourself out of your Gmail account!
Step 4: Review 3rd Party Access to Your Account
If you want to secure Gmail account from hackers, an important step in your Security Checkup after 2FA is to review third party access. Over the years, we allow certain apps or websites to have access to our account and we often forget to remove them when we’re done using that particular service.
For example, you can see here that at some point I allowed Word Cloud for Documents to have access to my account. Since I don’t use that service anymore, I’ll go ahead and remove access.
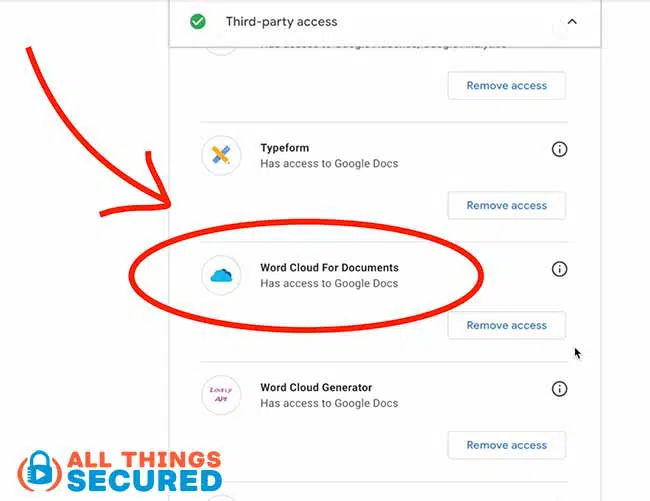
You should do the same to any apps or sites that you don’t recognize. And don’t worry, if you make a mistake, they can always ask for new access that you can give them again.
Step 5: Enroll in Google’s Advanced Protection Program
Now for those of you who want an extra measure of security, you can enroll in what Google calls its Advanced Protection Program.
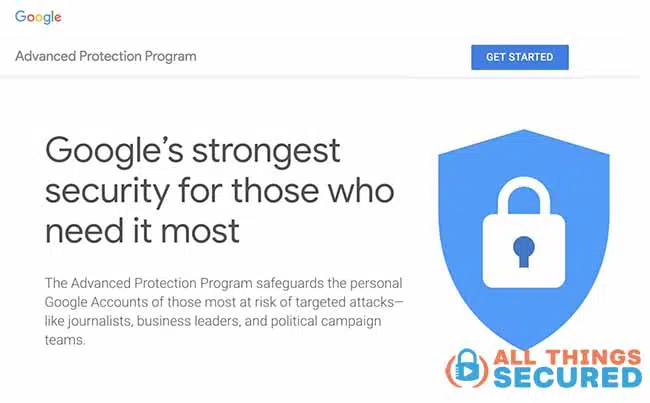
It’s free to sign up, and although it was designed with activists and journalists in mind, it’s open to anybody.
Essentially, the Advanced Protection Program does a couple key things:
- It forces you to use 2 factor authentication (which I’ve already said is the one thing you need to be doing anyway)
- The Advanced Protection Program performs stringent checks on file downloads, app installs, malware, etc.
Honestly, I can’t think of a good reason not to enroll in this free program unless you just refuse to buy a required 2FA key.
But, since I know you care about how to secure Gmail account from hackers, a 2FA key is a no-brainer investment. Make sure you grab your own set of Yubikey 2FA keys so that you can lock down your Gmail account.
Protect Against Phishing and Suspicious Activity
Phishing is a common tactic used by cybercriminals to trick users into revealing sensitive information, such as passwords or financial information. To protect against phishing and suspicious activity, it’s essential to be aware of the warning signs and take steps to secure your Gmail account.
Recognizing Phishing Attempts
Phishing attempts often involve emails or messages that appear to be from a legitimate source, such as Google or a bank, but are actually designed to trick you into revealing sensitive information. Here are some common signs of phishing attempts:
- Urgent or Threatening Language: Messages that create a sense of urgency or fear, pressuring you to act quickly.
- Requests for Sensitive Information: Emails asking for passwords, financial information, or other personal details.
- Links or Attachments: Be cautious of links or attachments that may contain malware or direct you to a fake website.
- Poor Grammar or Spelling: Many phishing emails contain noticeable spelling or grammatical errors.
To avoid falling victim to phishing attempts, never click on links or download attachments from unknown sources, and never provide sensitive information in response to an email or message.
Using Gmail’s Built-in Security Features
Gmail has several built-in security features that can help protect against phishing and suspicious activity. Here are a few:
- Google’s Spam Filter: Gmail’s spam filter can help block phishing emails and other suspicious messages before they reach your inbox.
- Two-Factor Authentication: Enabling two-factor authentication adds an extra layer of security to your Gmail account, making it more difficult for cybercriminals to gain access.
- Security Checkup: Gmail’s security checkup tool can help you identify and fix potential security issues with your account. Regularly reviewing your account activity and security settings can help you stay ahead of potential threats.
Set Up Recovery Options and Backup Contact Details
In the event that you lose access to your Gmail account, it’s essential to have recovery options and backup contact details in place. Here’s how to set them up:
Adding Recovery Email and Phone Number
To add a recovery email and phone number to your Gmail account, follow these steps:
- Go to the Google Account Settings Page: Log into your Gmail account and navigate to myaccount.google.com.
- Click on “Security”: From the left-hand menu, select “Security.”
- Scroll Down to the “Recovery” Section: Find the section labeled “Ways we can verify it’s you.”
- Click on “Add Recovery Email” or “Add Recovery Phone Number”: Choose the option to add a recovery email address or phone number.
- Enter Your Recovery Email Address or Phone Number: Input the details and follow the prompts to verify.
- Click “Save”: Ensure your changes are saved.
Having a recovery email and phone number in place can help you regain access to your Gmail account if you forget your password or lose access to your account. This simple step can be a lifesaver if you ever find yourself locked out of your account.
By following these steps, you can significantly enhance the security of your Gmail account and protect your sensitive information from cyber threats. Stay vigilant and proactive in managing your account security to keep hackers at bay.
Note: It’s possible to secure not just your Google account, but also secure your ChatGPT account, secure your Vanguard investment account, and so much more.
Watch the Full Video Walkthrough:
Be sure to subscribe to the All Things Secured YouTube channel!